



From design to finished result: give your hallway a makeover!
13 October 2020
In the Designtegels showroom, we have various style rooms. In these rooms, we show our new and popular tiles as they look at their best. Of course, these also need to be changed over time. Below, you can see how we did this.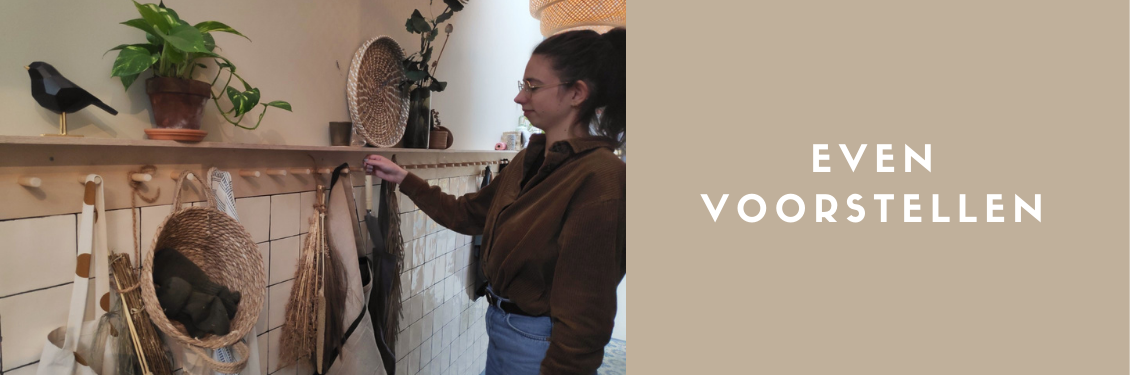
Let me introduce myself
Let me introduce myself: I’m Anouk, and I’ve recently started an internship at Designtegels. During my internship, I’m helping with changes to the showroom, graphic design work and writing these fun blog posts! Below, you can read how you can easily give your own hallway a makeover.
The makeover plan
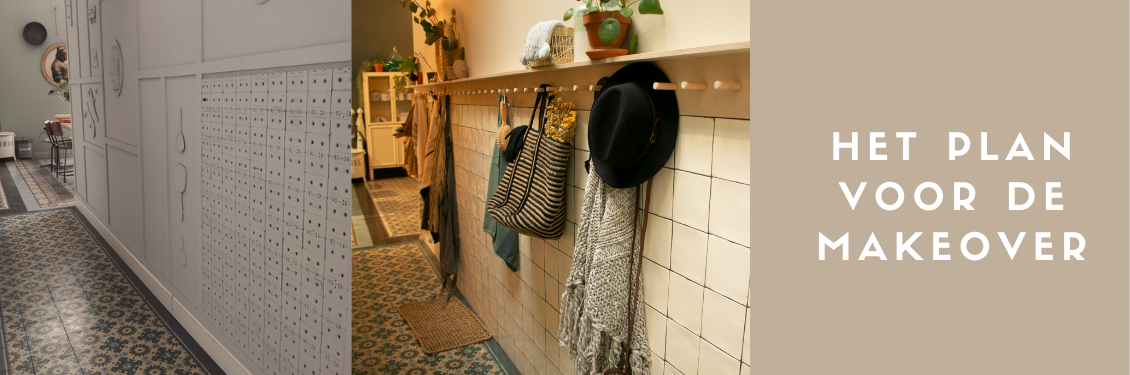
The hallway looked very different before the makeover. Wooden slats had been attached to one of the walls, it was dull and the colours were dated: time for a makeover! We found inspiration online, created a mood board, found a tile that suited the idea and could get started! It would be a hallway with a tiled dado along one side and a coat rack running the full length.
Where do you start with a makeover?
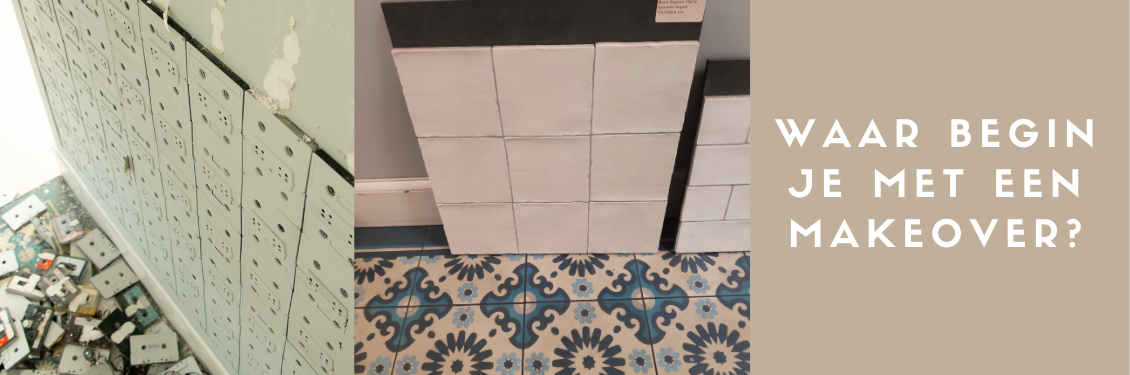
The first thing we had to do was strip the walls. While prising everything off, bits of the wall came away. To make the walls smooth and even again, we filled the holes with filler. It was my first time filling a wall, and it was super easy, with a neat finish straight away! The walls became beautifully smooth after several rounds of filling and sanding.
To prepare the walls fully for tiling, we first treated them with primer. This prevents the wall from absorbing all the moisture from the tile adhesive. It’s important, because this helps the tiles stay firmly on the wall.
Tiling for the first time? It wasn’t too bad!
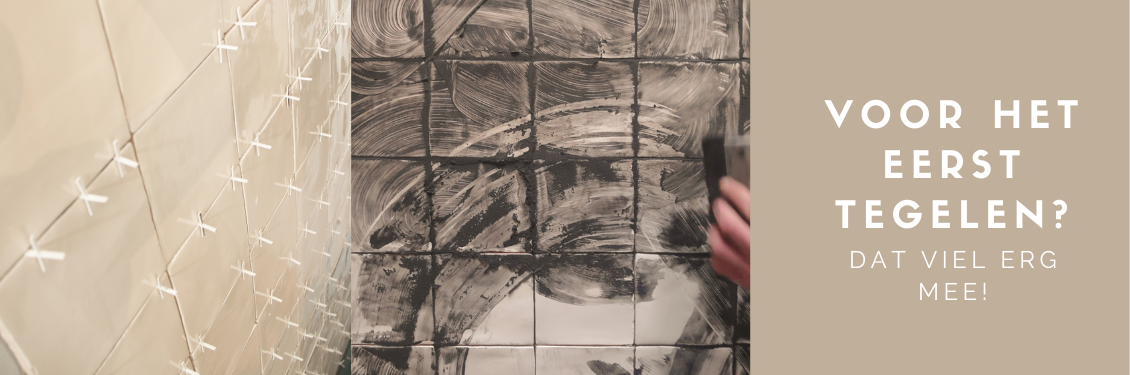
With this solid foundation in place, we could start tiling. It was my first time, but I was really looking forward to it! After a clear explanation from my colleague, I got started and quickly realised that you learn fastest by simply getting on with it. What I like most about tiling is that you see results straight away while you’re working. You can see your hallway becoming more beautiful as you go.
After tiling, I painted the walls and grouted the tiles. Grouting was completely new to me, but it’s an important step. Grouting the tiles prevents dirt and moisture from getting between them. By using a dark grout colour with a light tile, we created a modern, contrasting effect. Now that the walls are tiled and painted, the hallway is already taking on a completely new look. It’s amazing what a new tile and a lick of paint can do!
Looking for a coat rack or a DIY project?
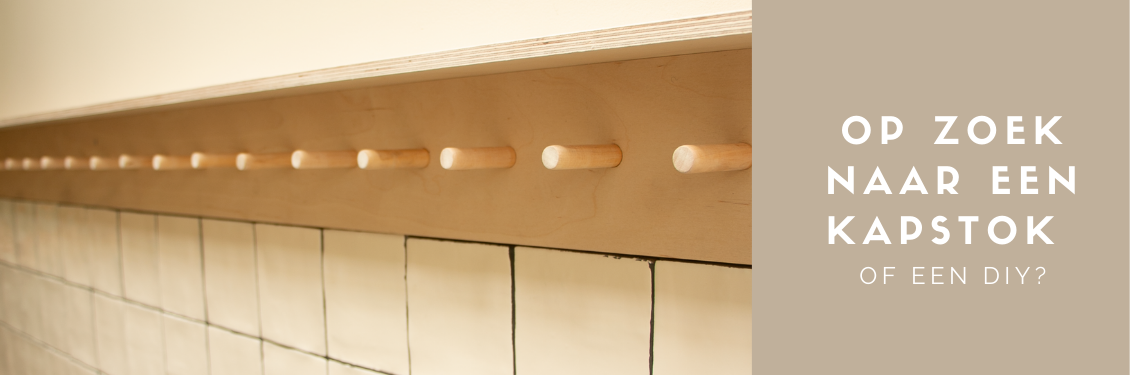
We wanted to hang a coat rack above the dado, running the full length of the hallway. Our coat rack therefore needed to be 4 metres long. Finding one that long isn’t easy. After searching online and looking around the shops, we concluded that we couldn’t find what we wanted. And certainly not within budget, so that meant one thing: a DIY project!
My creative, can-do colleague and I worked out the dimensions and design. The coat rack is made from a birchwood board, which we cut to size. For the hooks, we used an old stair gate. We cut its spindles to size and glued them into the holes we had drilled in the long board. So you see, with a small budget and a little creativity, you can quickly make the perfect coat rack!
 Time to add the finishing touches!
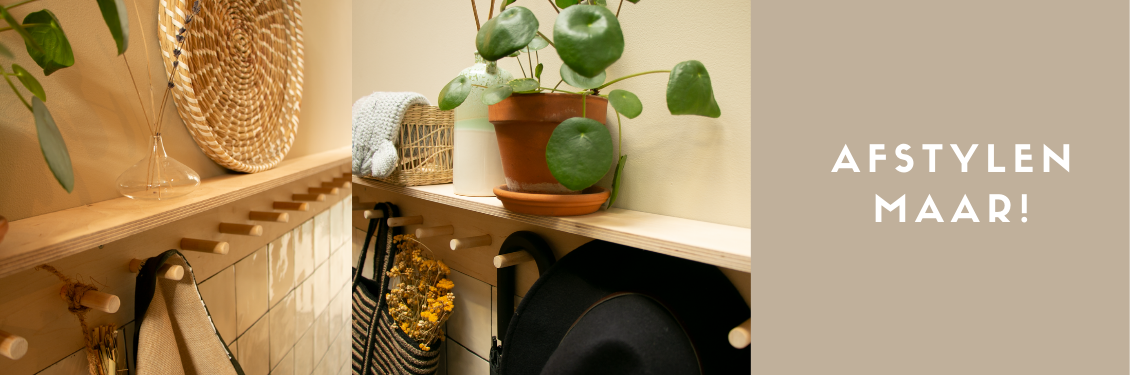
The hallway is almost finished: new paint, new tiles and a custom-made coat rack. The hallway has gained a completely different look! But let’s be honest: it’s the finishing touches that really complete the look.
We wanted to create a cosy, homely hallway using natural materials and tones. We could add some lovely items to the coat rack itself and to the shelf above it. With a small budget, we went shopping and bought scarves, ponchos, umbrellas, dried flowers and greenery from budget shops. Makeover complete!